

Save the Date
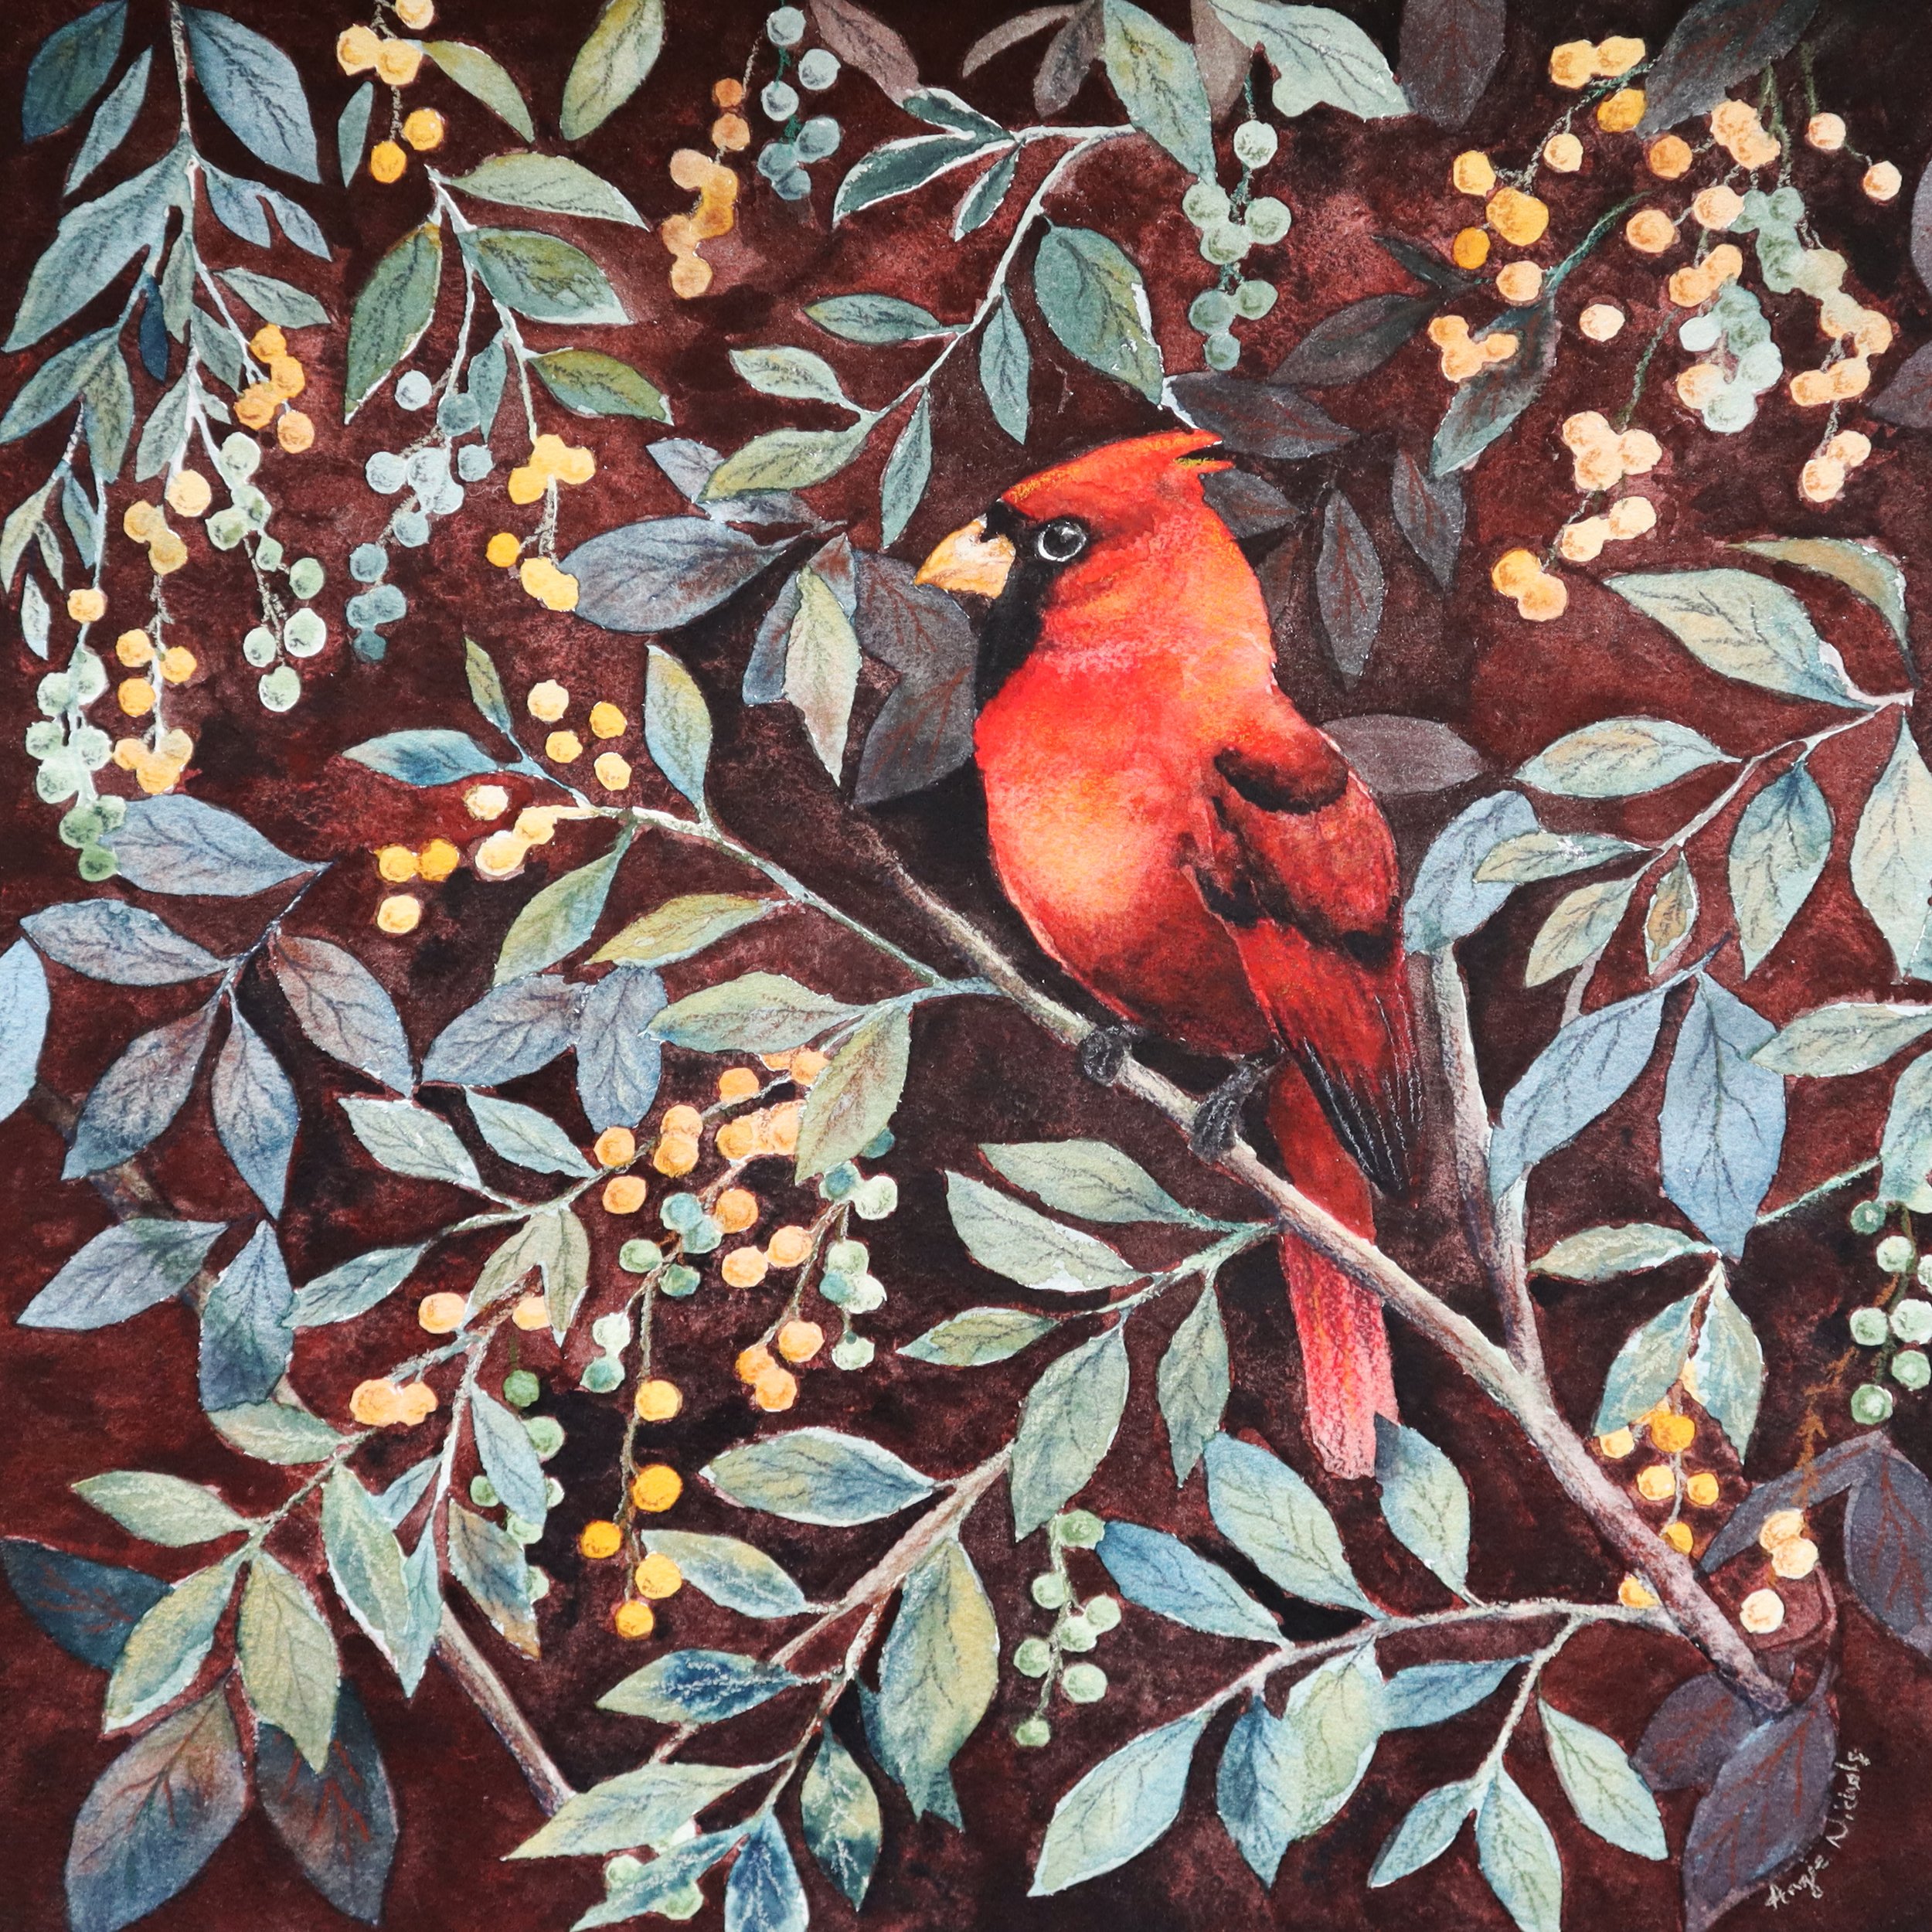
The first collection of paintings and fine art prints from AULORIA will be available January 18th, 2025!
Newsletter subscribers will have early access to the shop! Click below to sign up!

It started in high school…
I had one good art teacher in high school. I think I was a junior at the time. The assignment was to recreate a famous artwork. We had a somewhat random selection of famous art from different time periods. All were very large posters that took up the majority of our 6 ft. art tables. I don’t remember any of the other choices but my eyes landed on one image I knew was my best chance at success.

This was it
I had no idea who the artist was but it was an animal. (I still prefer to draw animals.) My teacher gave me a set of various size pens to recreate this massive poster on an 8x10 in. sheet of paper. I loved every minute of it.
The more I drew, the more I discovered just how detailed and thought-out the design was. I loved the variety of textures and detail. The cracks and imperfections in shapes definitely made it into my personal drawings after school.

AD
I don’t remember when, but at some point I was in humanities class and I saw a very familiar signature in my textbook. I scanned through the text and found a name, Albrecht Dürer.
It was the early days of the internet and my search for other images was slow; but eventually, I found more drawings, paintings, and engravings. Though I wasn’t enamored with the subject matter of most of his work, The level of texture applied to well-defined forms challenged me to work harder. I focused on shading and became a better observer of anatomy after studying Dürer’s work.

I still reference his work
Whenever I need ideas or inspiration, Dürer’s work still makes it to my Pinterest boards. I’ve borrowed his watercolor techniques in almost all of my current paintings.

Rabbit in Watercolor
Albrecht Dürer, 1502

It’s time to recharge
Sometimes we just have those weeks. The ones that just zap us of energy and motivation. Well, I just had one. Ok, a couple of them.
So I decided to search YouTube for some easy, meditative art projects and spent a day creating art. It definitely helped to calm my mind and relieve some of that muscle tension I could feel in my neck and back.
Below are the 5 projects I tried out. You’ll find a list of materials I used for each and the instructional videos from each artist.
I also included a video of me trying out each project.
Spread the Love!
If you would like to support those artists, please click the little thumbs up on their video and subscribe if you would like to see more of their work. It does mean a lot to them.
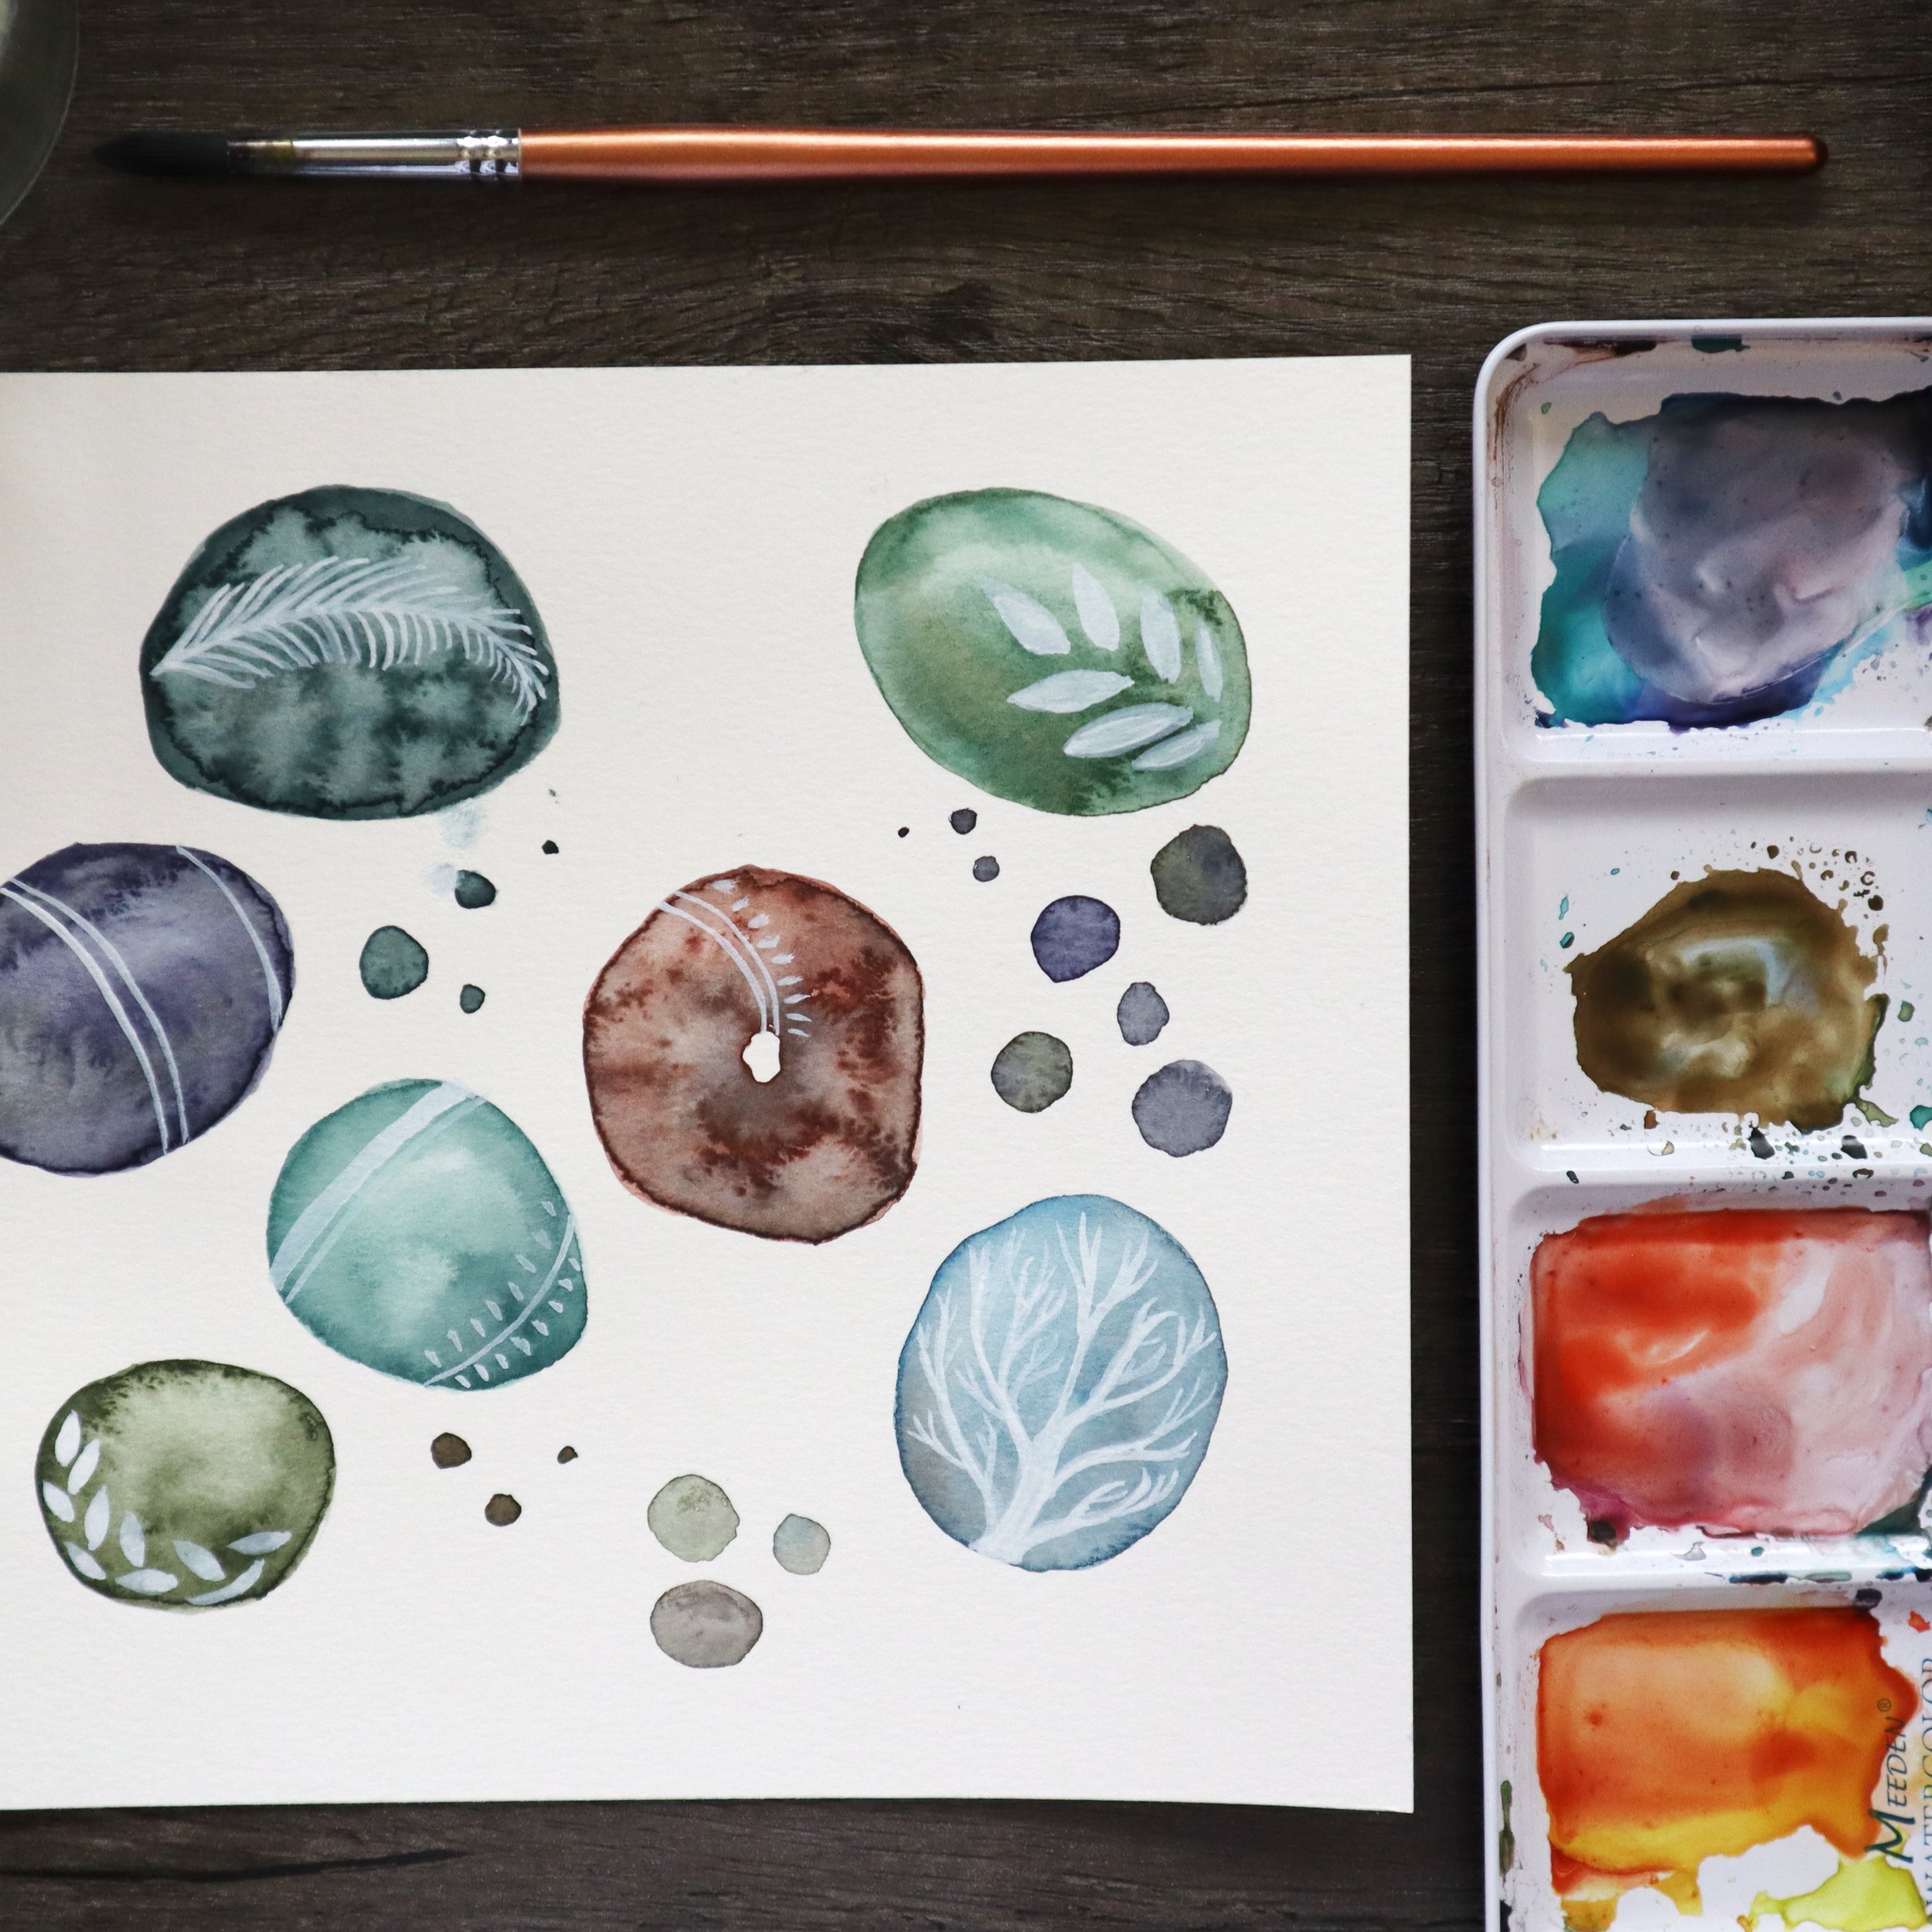
Pebble Swatches
by Natasha Newton
I could have spent a day just on these pebbles. The process made it so easy for me to slow down and enjoy the paint interacting with the paper.
Here’s what you’ll need
Watercolor Paper
Watercolor Paint
Paint Brush
Water Cups
Artist Tape or Washi Tape
Doodles for Stress Relief
by Miss Betsi
This was a really fun exercise. I did underestimate how much time it would take, however. If you are limited on time, I suggest cutting your paper in half.
Here’s what you’ll need
Paper
Pens (any pen or fine tip marker will do)
Colored Pencils
Eraser
Artist Tape or Washi Tape


Watercolor Exercises
by Lou Davis
I found this to be the most relaxing of the projects I tried. There are actually 3 different projects in the video and I highly recommend trying each of them!
Here’s what you’ll need
Watercolor Paper
Watercolor Paint
Paint Brush
Water Cups
Artist Tape or Washi Tape
Mandala Sunflower
by VA Arts
I love doing mandalas and the sunflower was a fun twist! This is another project that is probably more manageable with a smaller paper size.
Here’s what you’ll need
Paper
Compass or round objects to trace
Pens (any pen or fine tip marker will do)
Eraser
Artist Tape or Washi Tape


Neurographic Art
by Bethany Thiele
This was my favorite to practice my color mixing. I hope you enjoy this mindfulness exercise.
Here’s what you’ll need
Watercolor Paper
Watercolor Paint
Waterproof Ink Pen or Marker
Paint Brush
Water Cups
Artist Tape or Washi Tape
Now you’re all set to create!
Check out my video below if you’d like to see my day creating some meditative art.

Design your Space
Having an inspiring place to create can make a huge impact in your work. Here are a few tips I’ve picked up in designing my own creative space.
Lighting
It can be argued that lighting is the most important factor to consider in your creative space. Not only will it help prevent mistakes in your color choices and values; but correct lighting is better for your eyes as well.
Natural light is always the best choice. If the sunlight in your space is too direct, diffuse it with a sheer curtain.
Use photo lamps if natural light isn’t available. Since I’m working full time, most evenings when I have time for artwork the sun has already set. I’ve found photo lamps with a diffuser cover to be very helpful. I recommend monitoring how long you’re using them, however. (I’ve noticed that having them on too late into the evening can impact my sleep cycle.)
Play around with mood lighting. I enjoy having warmer and softer lighting while I’m using my planner or working on the computer. I have a couple of cute lamps on and some candles I light while doing my administrative tasks. I find it tends to help me focus (plus it’s really cozy).

Get Organized

Have your frequently used items ready to grab. Seeing your favorite, go-to supplies ready to go may inspire you to get started!

While you’re at it, this would be a good time to get rid of those old materials that can’t be used anymore. You can also set aside anything you haven’t used in a long time. Those materials can be put into storage, sent to another artist, or sold.

You might notice that you’re running low on some of your materials. I like having an ongoing list of supplies I need to replace.

Have fun with storage! I like having a variety of cute containers for pencils, brushes, pens, etc.
Jumpstart your Creative Time

All of us have a hard time starting a project sometimes. One of the easiest ways to remove creative obstacles is to make my workspace somewhere I look forward to be in.
Leave it clean: One of my worst habits is not completely cleaning my work area when I’m done with a project. It makes it so much harder to begin when I have to clean first. Just spend a little extra time before leaving the space to tidy it up. You’ll love seeing a clean, organized space the next day.
Put out things that motivate you: This could be a new art supply, a notepad with your next goal, or a small treat to munch on while you’re working. (I have my grandma’s candy dish in the room with some sweets.)
Make your creative time into a ritual: Work at around the same time. Maybe you always use the same mug with a favorite tea and light some candles. Have special music playlists you only listen to while working. You’ll find that keeping the same welcoming rhythms and routines may get your mind and body prepared to create.
Make this YOUR Space

This is the part I enjoy the most. Make your creative space a place that reflects you. Do you like a minimalist and clean environment; or would you rather it feel warm and lived in? Here are a few ways to personalize your space.
Put up other artists’ work that inspires you.
Place some of your favorite trinkets and memories around the room.
Have some plants to liven up the space.
Consider having a studio buddy. (I have my parakeet, Kiwi.)
Decorate the room with your favorite color scheme.

Happy Creating
I hope you’ve found this helpful. If you have your own tips of making your creative space more inviting and productive, please comment below!